Home » Horticulture » Romaine Calm and Garden On » Module 2: Map it out! Making planting maps
Module 2: Map it out! Making planting maps
Learn how to map your garden using crop rotation.
At the end of this lesson, you’ll be able to:
- Distinguish vegetable classification by plant family
- Define crop rotation
- Apply crop rotation to planting maps
Vegetables can be organized into families.
In this section, you’ll learn why its important to group different vegetables into families when mapping your garden.
Organize your crops into plant families
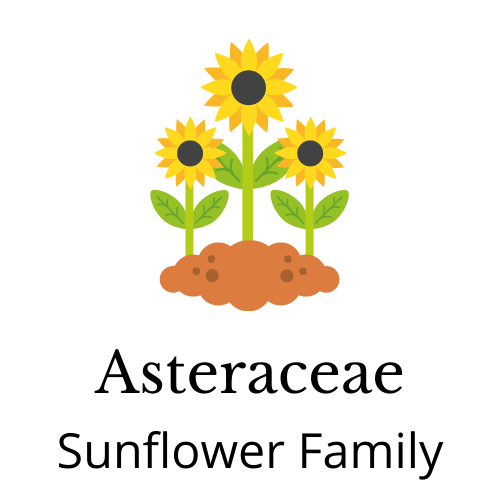
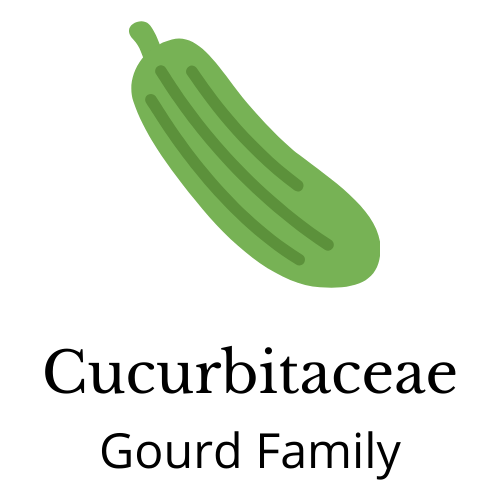
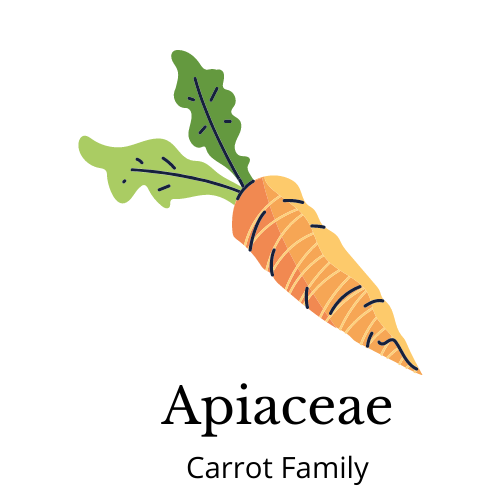
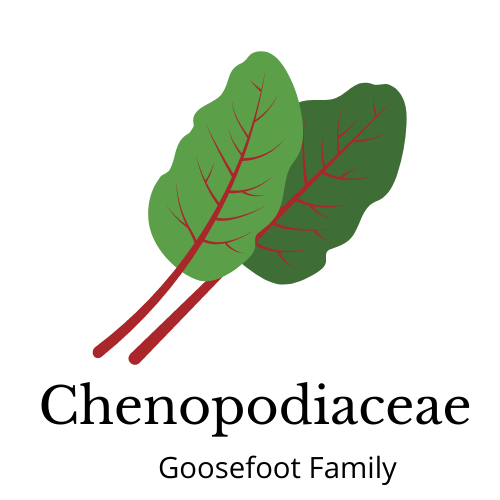
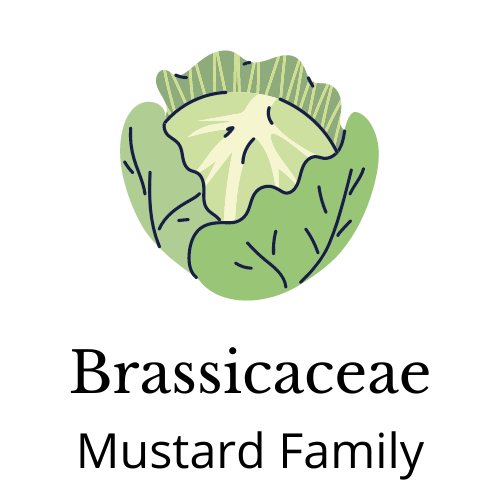
Plants can be organized into groups that are genetically similar. Genetically similar plants often have pests, diseases, and nutrient demands in common with each other. When you are considering where to place your different crops in your garden, be sure to group them by their plant family. Here are the 8 main plant families in vegetable gardens.


You can reduce nutrient loss and pest issues by rotating where your crops are located in your garden each year.
In this section, you will learn how to reduce nutrient loss and pest problems by utilizing crop rotation techniques.
If you rotate the location of crops by families each year, you can reduce the insects & disease and nutrient loss in the soil.
- Over time, insects and disease causing organisms called pathogens populations build up in the area and damage to vegetable crops increases. Using crop rotation helps keep insects and pathogens at low levels.
- The type of vegetable grown in a particular area in a garden has a direct effect on the fertility of the soil in that area. Each vegetable is unique in the type and amount of nutrients it extracts from the soil. Crop rotation can even out the loss of different soil nutrients and allow time for nutrients to replenish.
Grouping plants by families makes it easier to rotate from one year to the next.
- By grouping your crops into plant families, it becomes easier to rotate entire groups throughout the garden from one year to the next.
- Keep a garden journal. Maintain records so you will know how long it has been since a particular plant family has been in a certain section of the garden.
- Do not plant the same family in the same place 2 years in a row. 4 year rotation is best.
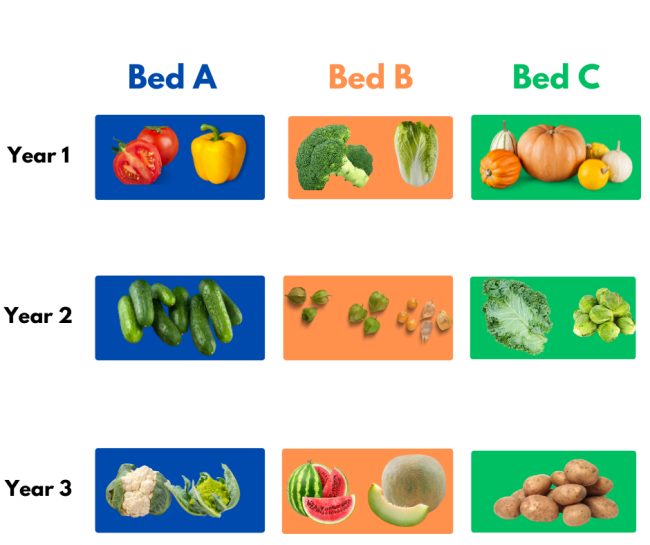
In this example we have 3 garden beds, Bed A, Bed B, and Bed C.
We are growing 3 main plant families: nightshade family, mustard family, and the gourd family.
You will notice in the second year, we planted different crops, but still rotated through the beds based on plant families.
In the third year, we are growing different crops again, but maintaining the crop rotation based on plant families. This is why having a garden journal will help you stay organized over the years.
Now its time to make a garden map!
Use the following tips to create planting maps.
Make a sketch of your space that includes your water source, trees & shrubs, and structures.
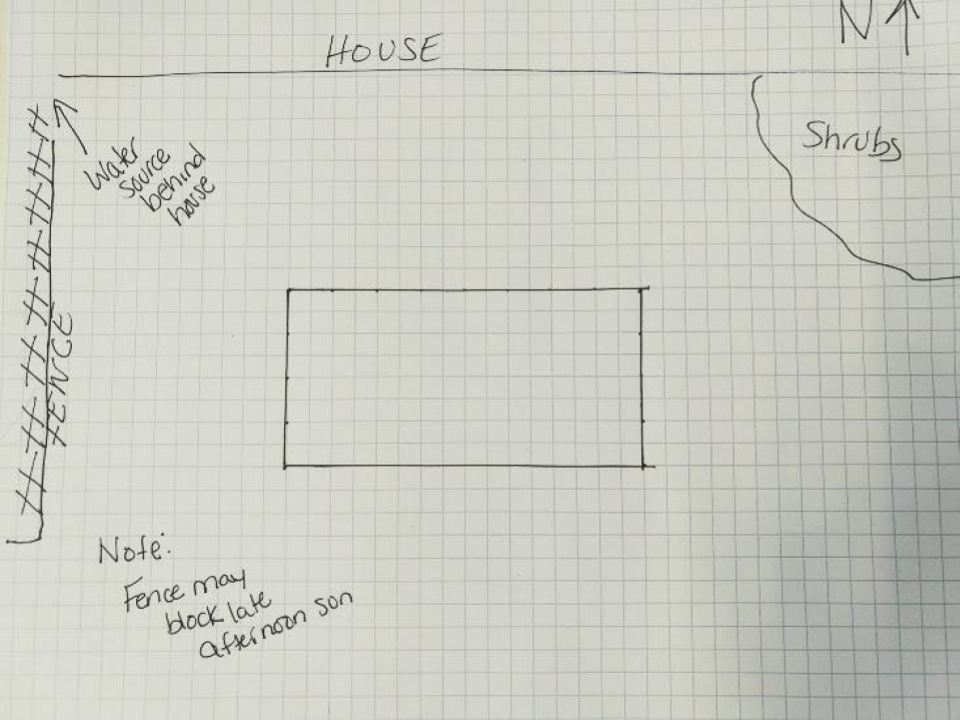
- Start with a rough sketch of the location of the garden.
- Identify where the water source is. Will you use a hose with a watering wand? Watering cans? Rain barrels?
- Locate structures including buildings and fences. Will they block the sun?
- Locate trees and shrubs. Remember, even if the trees and shrubs are on the north side of the garden, their roots will still compete for moisture and nutrients.
- Mark the direction. This will help you identify if there will be shadier areas of the garden. Take notes of the dimensions of the garden space.
Map out your garden space with specific crops and cultivars.
- Use graph paper if possible. Here is a .pdf of printable graph paper.
- Outline your planting beds. Be sure to mark paths.
- If you use grid paper, it’s easy to use each square of the graph paper for 1 square foot.
- Now choose where you will grow your crops. Remember to group your plant families together.
- Use your sketch of the buildings/etc to keep your sun loving plants out of shadows
- Use your planting plan from the Session 1 handout to fill out your planting map.
Crops that are too close to each other can encourage diseases and share insect pests.
- Plants will compete for moisture and nutrients if they are too close to each other. They will also compete for sunlight.
- Crops that are too close to each other can encourage diseases. Many foliar diseases require moisture on the leaves for extended periods of time. The leaves can increase relative humidity, making it more difficult for the leaves to dry fully from rain or dew. If the plants are very close to each other, they can also spread disease from one plant to the next.
- Plants that are very close to each other will also share insect pests. Some insect damage is directly due to eating the crop. Other insects damage crops by spreading disease from one plant to the next.
- You can find the correct spacing for specific cultivars on the seed packet or plant tag when you purchase seeds and plants. You can find general plant spacing information in the Planting Guide from the handout in Module 1.
Plant taller crops in the back of the garden.
- Plan for the height of your plant at maturity. Be aware of the potential for tall crops to shade out short crops.
- You can grow shade tolerant plants on the north side of tall plants. For example, lettuce can grow on the north side of tomatoes.
Create a separate map for each season.
- Make the most use of your space by planning for sequential gardening.
- Look at your planting plan. Divide your crops into warm and cool season.
- Of your cool season crops, which will you plant in spring? Which will you plant for the fall harvest?
- Where will you plant your warm season crops?
- Make multiple maps. Make notes in your garden journal.
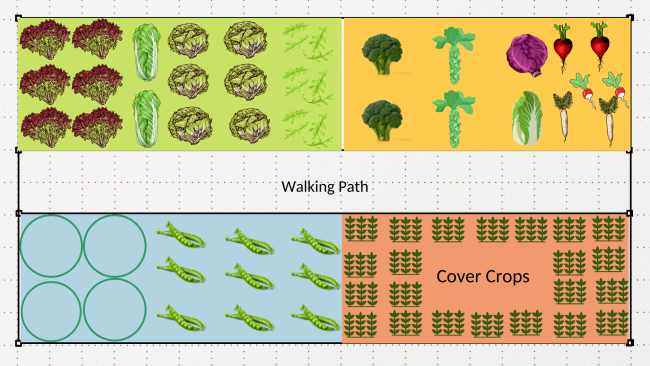
Take a look at the example maps. Here we have a spring garden map. In the north west (green) corner, we have planted cool season greens. In the south west (blue) corner we have peas, and the south east (coral) corner has cover crops. The peas and salad greens prefer cool temperatures and will bolt once the weather warms up. The cover crops are protecting the soil until we can add warm season crops in the south east corner. In the northeast corner (gold) we have cool season brassicas that can tolerate mild frosts throughout the spring.
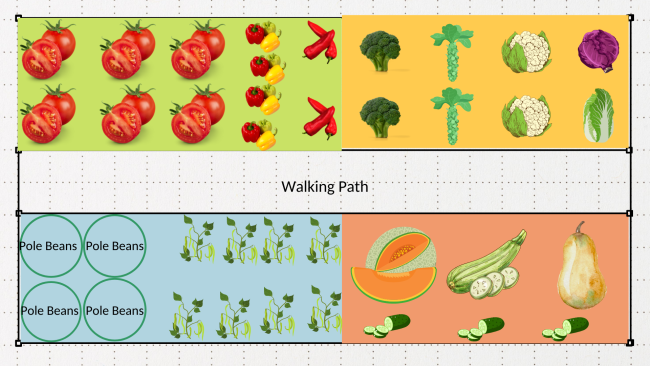
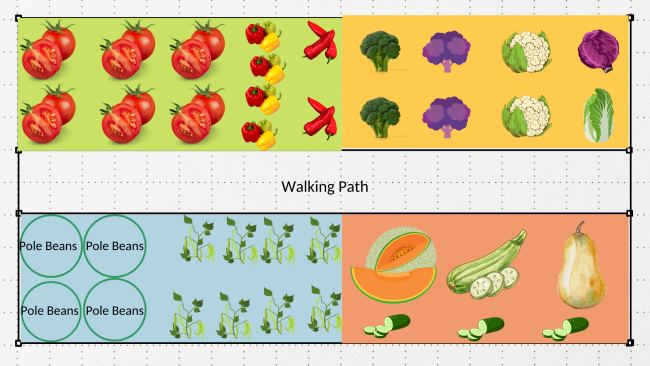
In the summer garden, we’ve replaced the salad greens with plants in the tomato family. We have replaced the spring radishes with cabbage, which is in the same family as the broccoli and cauliflower. In the southwest corner, we’ve replaced the peas with bush beans and added pole beans. In the southeast corner, we turned the cover crops over and have added plants in the cucurbit family.
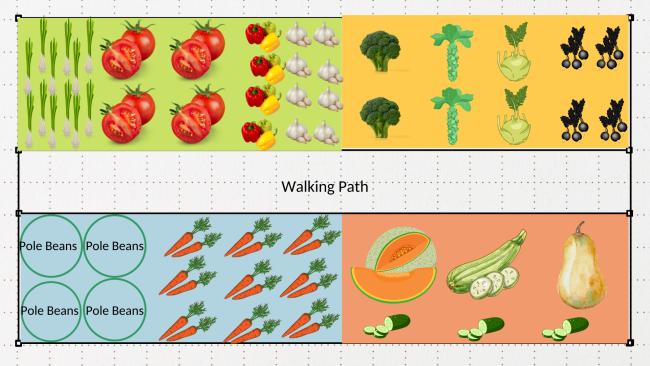
- In our fall garden map, we have replaced early or determinate tomatoes with bunching onions and added garlic where our chili peppers were. We’ve replaced the cabbage and cauliflower with kohlrabi and winter radishes, which are in the same plant family as broccoli and cauliflower. We’ve added a fall crop of carrots when our bush beans are finished.
- There are many ways to map out a garden plot. Use the concepts you learned today to keep it as simple as possible while reducing the need for excessive insecticides and fungicides.